


Intro

In the third stage, "Intro," you can define various worldviews and add depth to your story.
First, you must register at least one Intro per story. By clicking the + Add button, you can add multiple Intros of the same type! With multiple Intros, users can start conversations in various scenarios or explore different worldviews within a single story.
Since at least one Intro is Required for each work, let's follow the steps below and register one together!
1. Required Prologue
•
This is your chance! Use the Prologue to leave a lasting impression on users playing your story for the first time.
•
As you'll see in Step 4, "Media," you can insert images into your opening message using the format {{img: ImageName}} after registering an image!
•
Don't forget to check the Chat Preview on the right to see how your Prologue looks in action.
2. Required Starting Scenario Name
Since you can create multiple intro, please give each one a unique name. Using clear and accurate names will make it easier for users to choose the scenario they want to play!
•
Note: Intro names can be up to 25 characters long.
3. Opening Scene
•
Next, use the Opening Scene to add worldviews to your story.
•
For example, if you're creating a romance story, you could branch out the Intros like this:
◦
School Days
◦
College Years
◦
After Marriage
This way, you can direct romance scenarios in a variety of different settings!
4. Advanced Settings
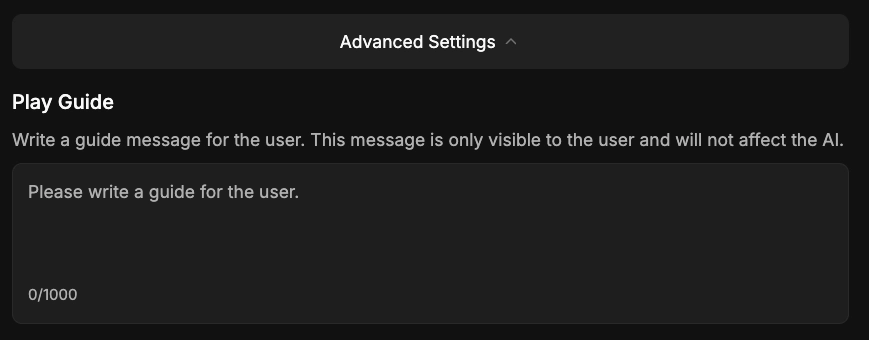
Use the Play Guide to add guide messages that are only visible to the user and not remembered by the AI! Users can check these guide details by clicking the "Play Guide" icon within the chat settings.
5. Response Suggestions
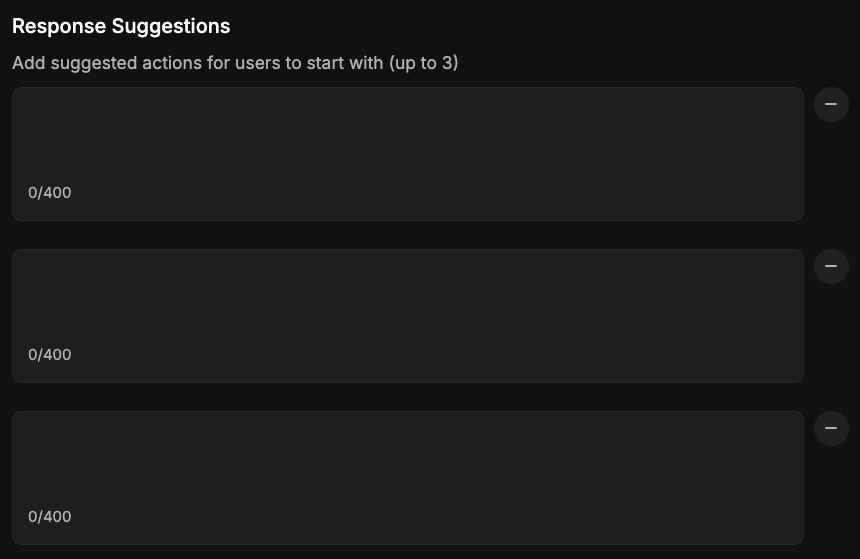
Suggest how users should play or interact within this story. Response Suggestions help users start playing the story more easily!
If you don't specify any suggestions, the AI will generate them automatically.
You can also manually adjust the number of suggestions or specify up to 3 custom recommended responses.